


Among the questions I’m often asked when it comes to Instagram, this is one of the most common. There are many, many ways to edit photos for Instagram. From simply using the features inside the app itself, to using third-party apps such as VSCOcam and Snapseed, to my personal favourite, Adobe Lightroom.
Uh oh, an Adobe program. That must be complicated.
Not so fast. Those of you who already use (and likely love Lightroom) know that it doesn’t take much to get going on the program. The user interface is relatively simple, and it’s pretty intuitive to learn. The same can’t really be said about it’s more intricate siblings such as Photoshop and Illustrator.
There are really only two main reasons why I love Lightroom so much, and choose to edit almost all of my photos for Instagram with it:
(And I repeat) It’s very easy to learn and use
Unlike other Adobe programs, the first time you open and use Lightroom, you will likely be able to complete a task without too much headache. The flow is relatively simple. You Import to the Library, you select which photos you want to work on from the Library, you click Develop, you apply adjustments and/or Presets, Brushes, Gradients, etc, and you Export your final image once you are happy with it!
You can do a lot with it
For a program that’s so easy to use, you can certainly do a lot with it. So in that sense, it can be a blessing or a curse. Usually a curse when you’re starting out that then turns into a blessing once you become more comfortable.
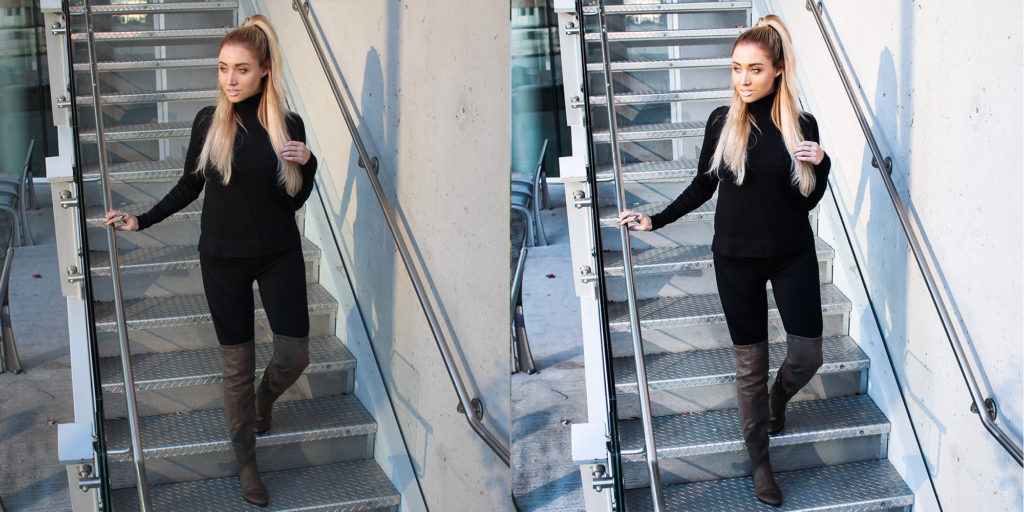
Before & After – OOTD Bright Lightroom Preset
Personally, I love being able to adjust the hue of each colour, the tone curve, apply split toning, and gradient adjustments. Now if that sounded like jargon to you, I’d recommend just getting in there and playing around with all of the different options and you’ll quite literally see exactly what they do. Even adjusting the exposure, contrast, and temperature of your image can give it a completely different vibe. With so many aspects to customize, you are much more likely to get a look that is unique than you would by using a popular VSCOcam filter.
So, what exactly do I do to my photos?
Okay, I can hear you. Yes, this all sounds great, but what exactly do YOU to your photos. Well, this totally depends on the photo, but as most of you have noticed if you’ve seen my Instagram, is that I try to stick to a pretty strict aesthetic, in order to give my feed a sense of cohesion. This is an attribute I find of utmost importance for Instagram success.
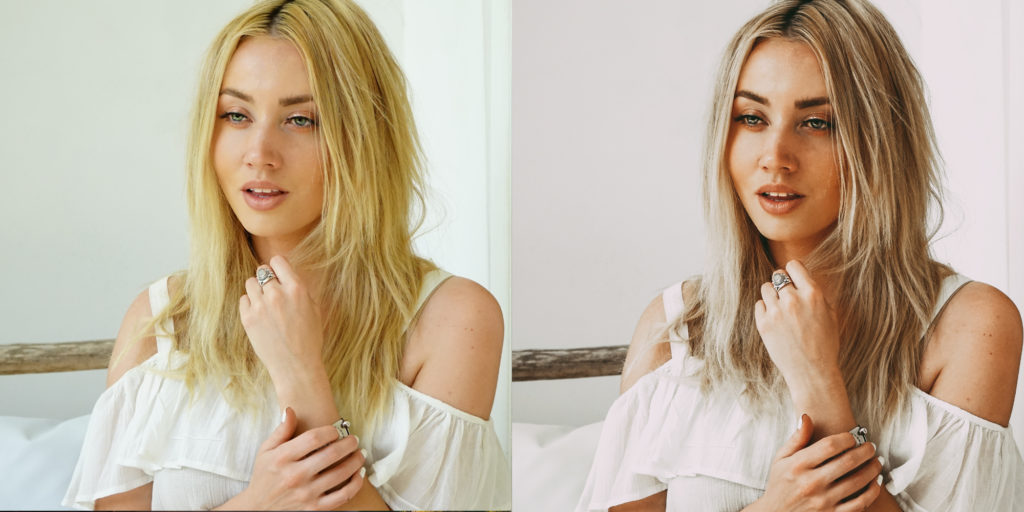
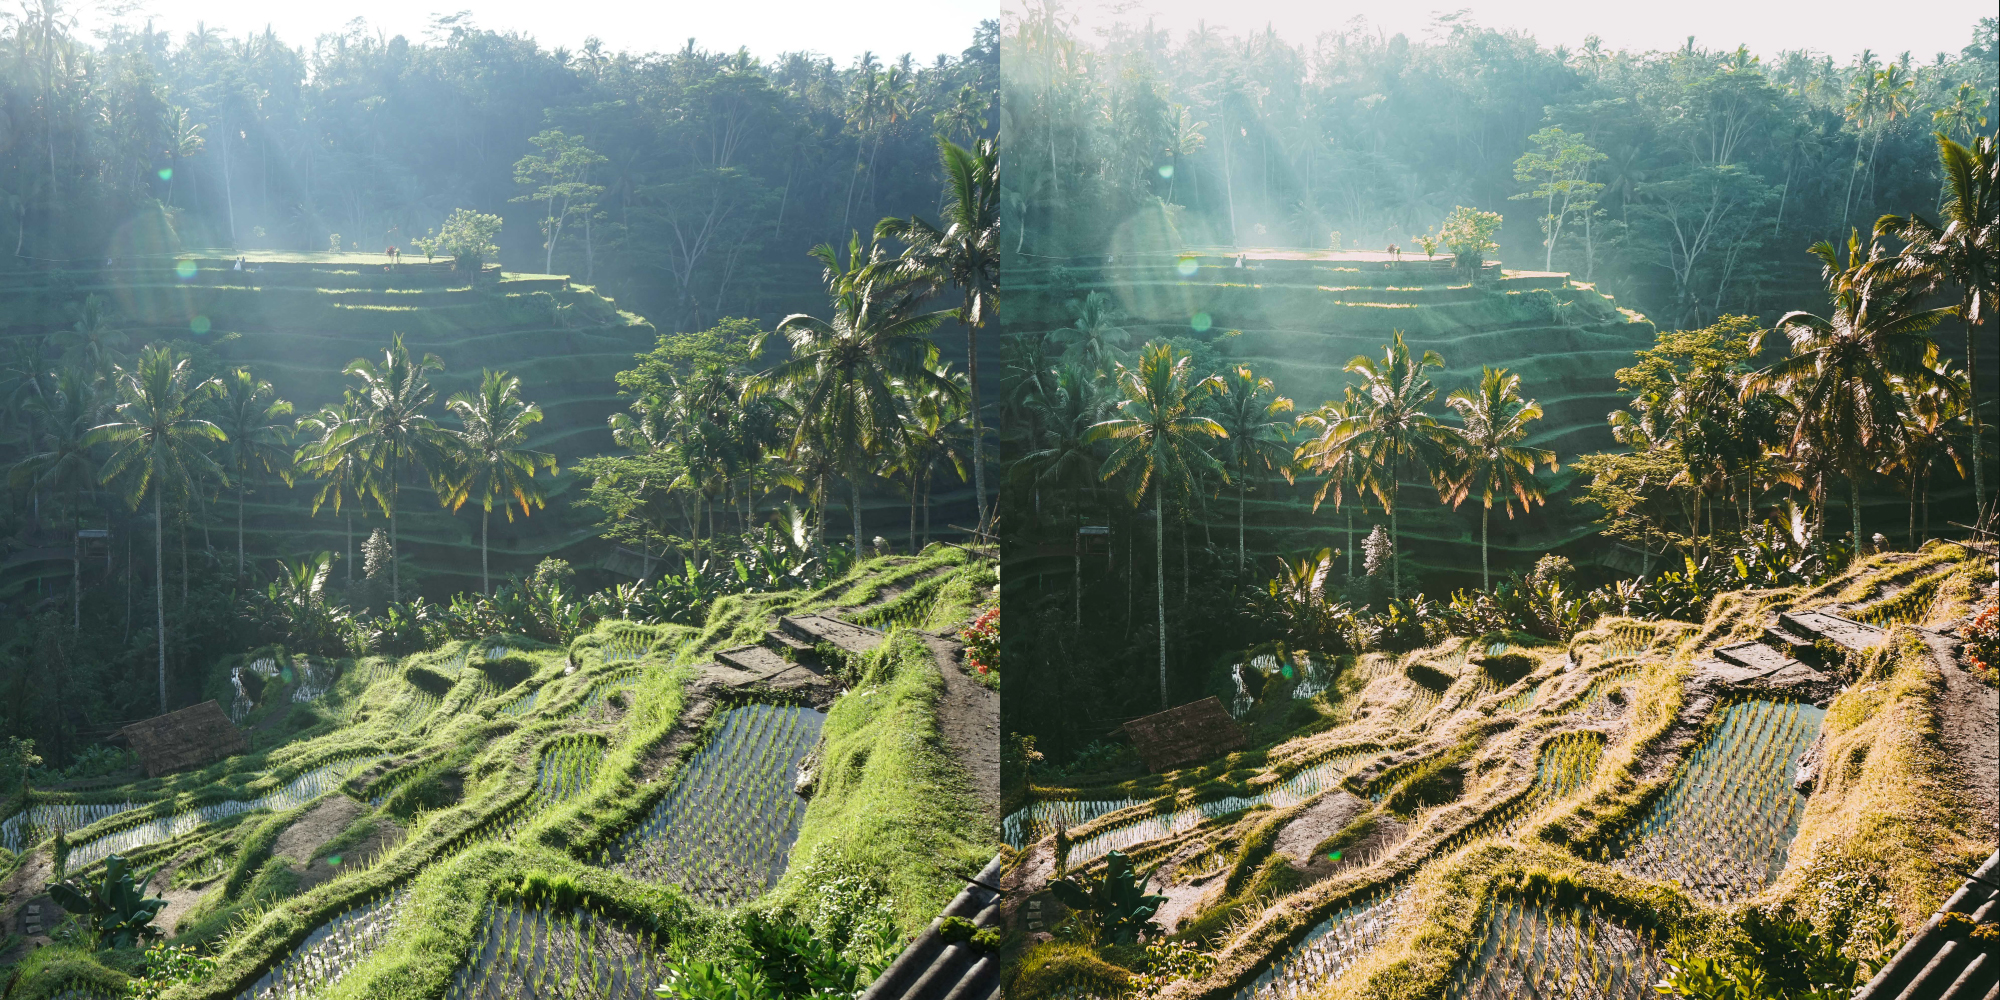
Before & After – Bohemian Warmth People Preset
The most common adjustments I make are increasing exposure, increasing contrast, adjusting temperature, and desaturating greens. However, I usually play around with settings for a while until I’m happy and then save my settings as a Preset. A Preset in Lightroom is exactly what it sounds like. It is a customizable combination of exact settings that once created, you can use again and again. Once saved, you simply click on the Preset from the drop-down menu on the left, and voila! All of your saved settings are applied and your photo looks Instagram ready. It’s really a time saver. Now, this doesn’t mean it won’t necessarily require any further adjustments, it’s going to depend on your camera’s settings and the natural levels of the original photo. So tweaking is to be expected. For example, if your photo is underexposed, you may still have to increase exposure after the Preset is applied. If it was shot on a super sunny day, you may have to make the temperature less yellow. But overall, using a preset will end up saving you hours of work and guessing.
Here are my exact settings
I’m not joking. I’ve put together two sets of presets for you, that are taken from the exact photos that you’ve seen on my feed. Each download includes instructions for installing the Presets (it’s super easy!). The first, Bohemian Warmth, is a bundle of 4 Presets that I have been using on photos from my recent Bali trip. They give the photos a slightly vintage look while maintaining skin tones and detail. The second set is Bright OOTD – a set of 3 Presets (1 Preset and 2 Adjustments) that I’ve used on my OOTD type Instagram posts in the past. These really make the photos pop, while maintaining skin tone, and muting distracting greenery.
[one_half]
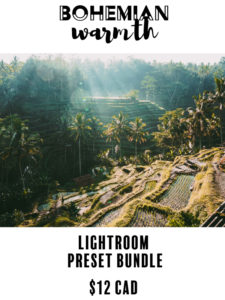
Click above for product info
[/one_half]
[one_half]
Click above for product info
[/one_half]
Of course, you’ll still have to download Lightroom in order to use these (if you don’t already have it). The bad news is that Adobe Creative Cloud is no longer available for one-time purchase, and hasn’t been for a couple of years now. The good news is that it’s only $9.99/mo US for both Lightroom and Photoshop. And, if you’re using these towards any of your endeavours you claim on your taxes, you can put this cost towards your expenses!
For any serious creative, I highly recommend subscribing to the entire Creative Cloud like myself. There’s so much you can do with it, and I find it really crucial if you’re going to be taking digital enterprise seriously. The programs I use the most are Lightroom (obviously), Photoshop, Illustrator, InDesign, and Premiere Pro.
Happy Instagramming! And don’t forget to use Snug to plan your feed out after you’ve got your perfectly edited images! Feel free to leave any comments or questions below.
*This article contains affiliate links, which means I earn a small commission on products purchased through these links. This is at no additional cost to you though.
[thrive_leads id=’674′]


+ show Comments
- Hide Comments
add a comment