


The best camera is the one you have on you.
Sounds a little corny, but hey, it’s the truth.
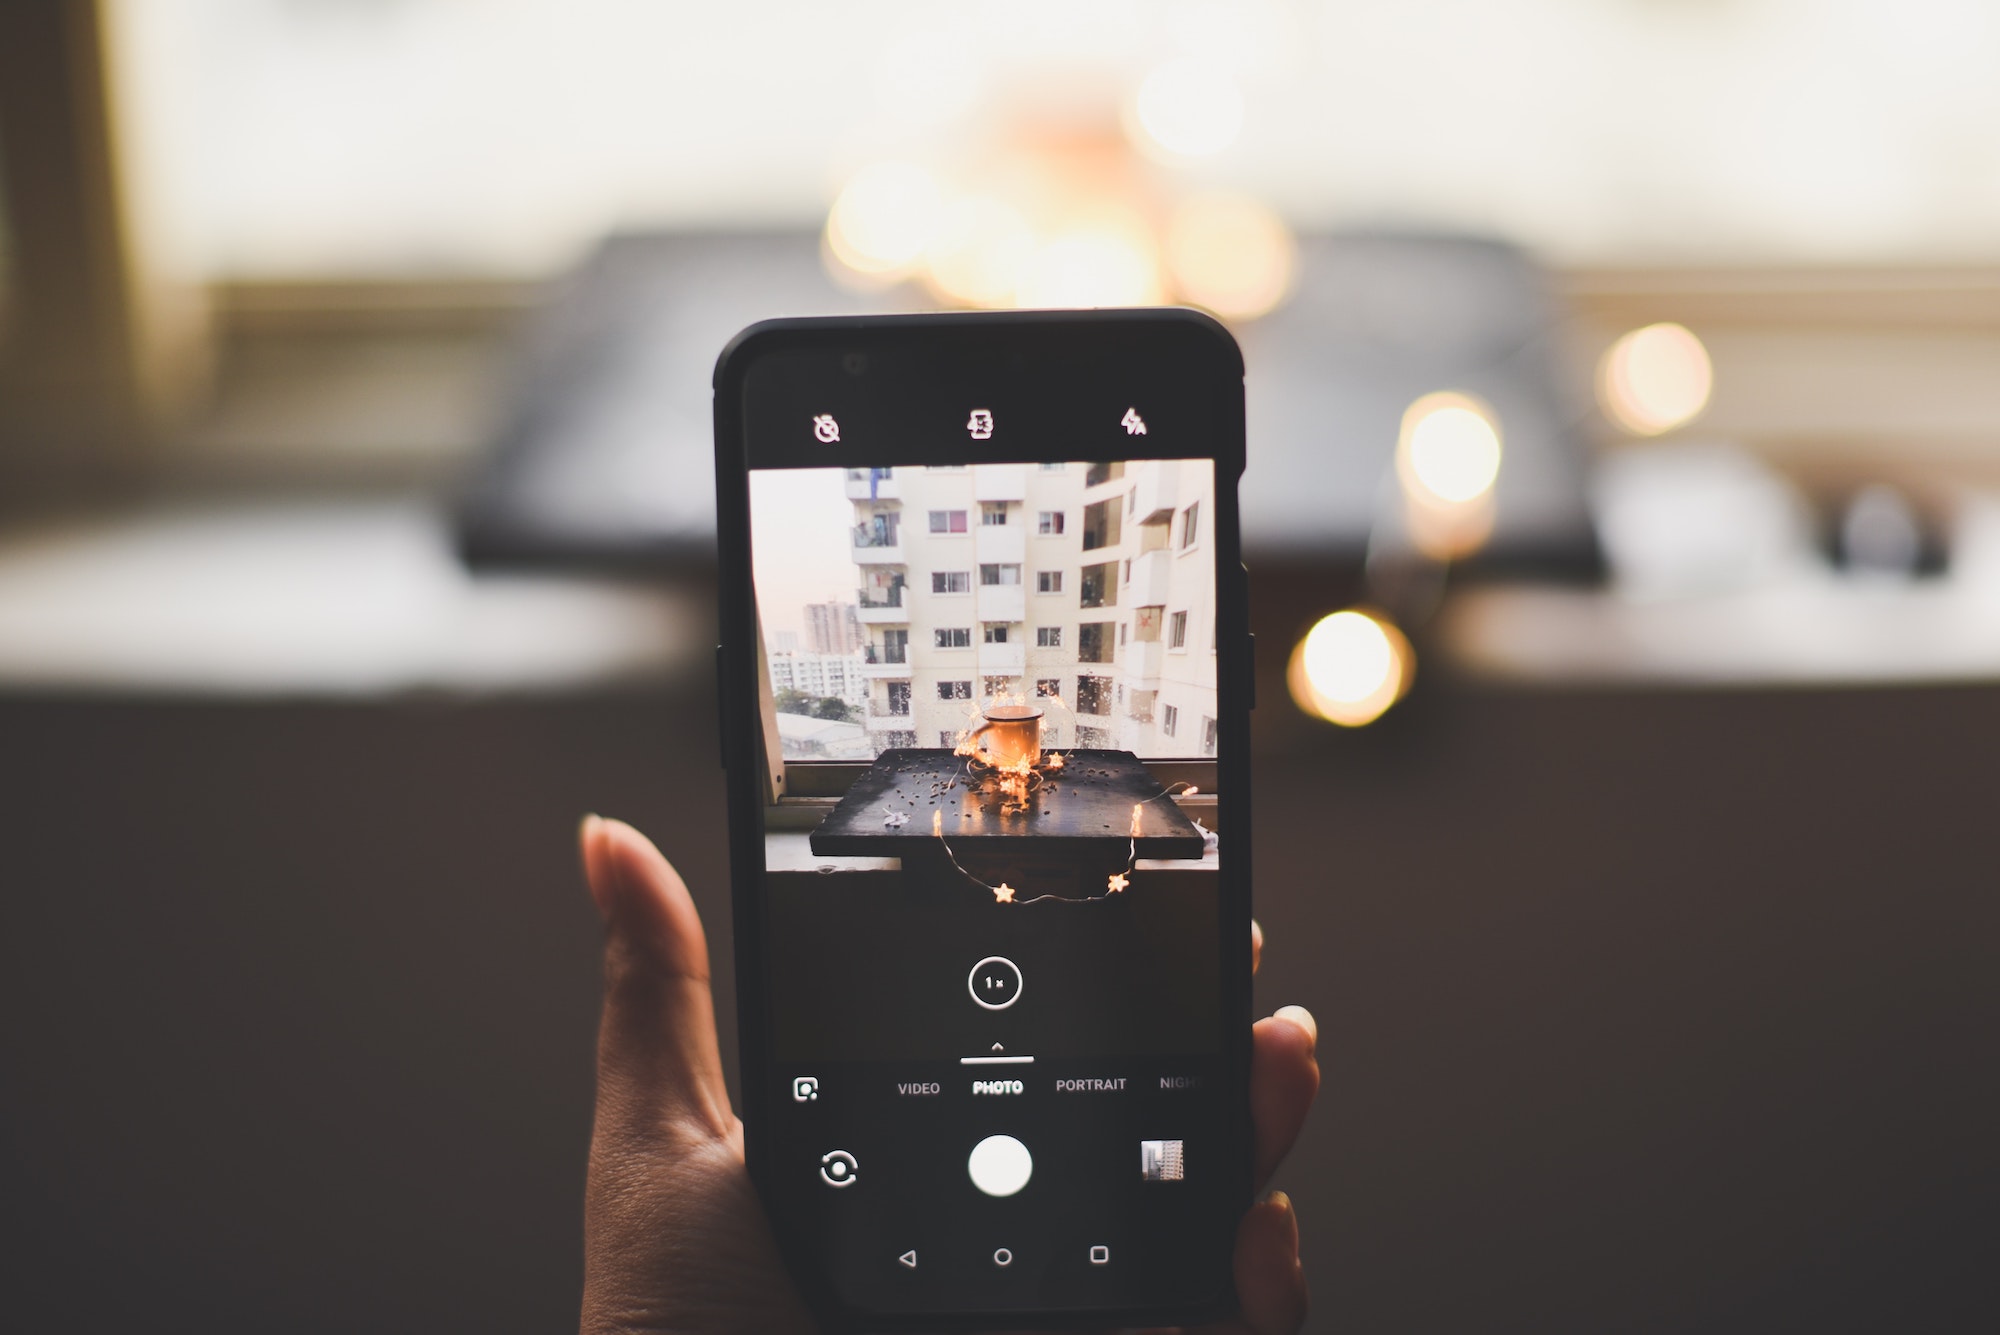
While I do believe there is a time and a place for a DSLR or mirrorless camera, especially as a professional photographer myself, I also believe that amazing photos can absolutely be taken with just your mobile phone. In fact here are a couple that I’ve taken with mine (iPhone X) as an example:
Not bad eh?
Here’s how to do it .
1) Clean your frickin’ lens
Before I take a photo with my phone, I always use my shirt or something else (a lens or glasses cloth is more ideal) to clean off the lens.
Our phones are dirty AF. We chuck them in our pockets, our purses, our cup holders in our cars, and all of these places put residue on the camera lens, which can cause your mobile pics to come out blurry and unclear.
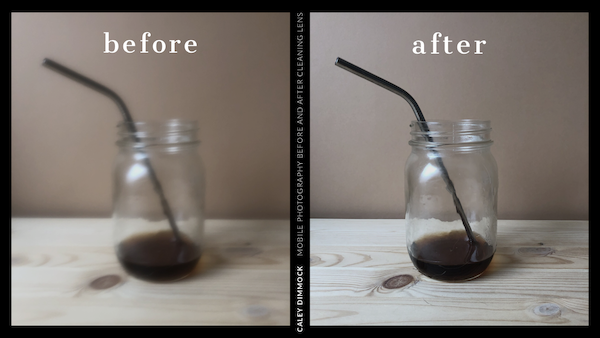
Taking a quick moment to clean it off makes a huge difference to your photos. That is the only difference in the before and after in the photos I took with my phone above. Nothing else.
2) Find the light and use it properly
Lighting makes or breaks any photo, mobile phone or not.
But when using your mobile phone camera, which is usually going to be a lower quality camera, good light makes all the difference.
Both of the photos I showed at the beginning of this article were taken with natural light filtering in through a window. When indoors, taking your shot by a window is usually a good idea. Using natural light is always my favourite.
If you have no window or natural light available, I recommend to refrain from using your flash on your phone and instead, use a nearby lamp to direct light, or you could even have a friend use the flashlight feature on their phone to use as a spotlight.
Another fail-proof component of using light is to ensure your light source is coming from in front of your subject. This is especially important if you are taking a photo of another person. Unless you are trying to create a silhouette, of course.
Top-down lighting can also be pretty terrible for photographing people, as is the case with indoor situations when your only light it the ceiling lighting. This type of lighting will create harsh, unflattering shadows on faces. Instead, place your subject by a window, or if that’s not an option, have them stand in front of a lamp that is more in front of them than on top of them.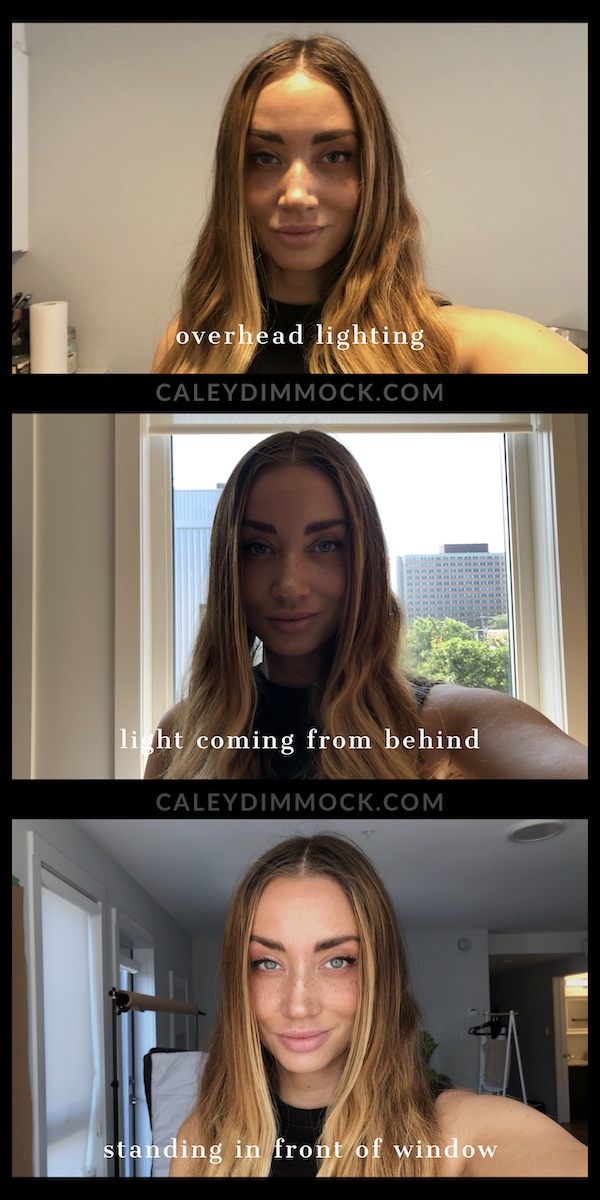
3) Style and compose your shot thoughtfully
When a photo is composed and styled well, quality often takes a second-seat. The photo automatically looks more artistic and we’re more likely to let a lack of image/file quality slide.
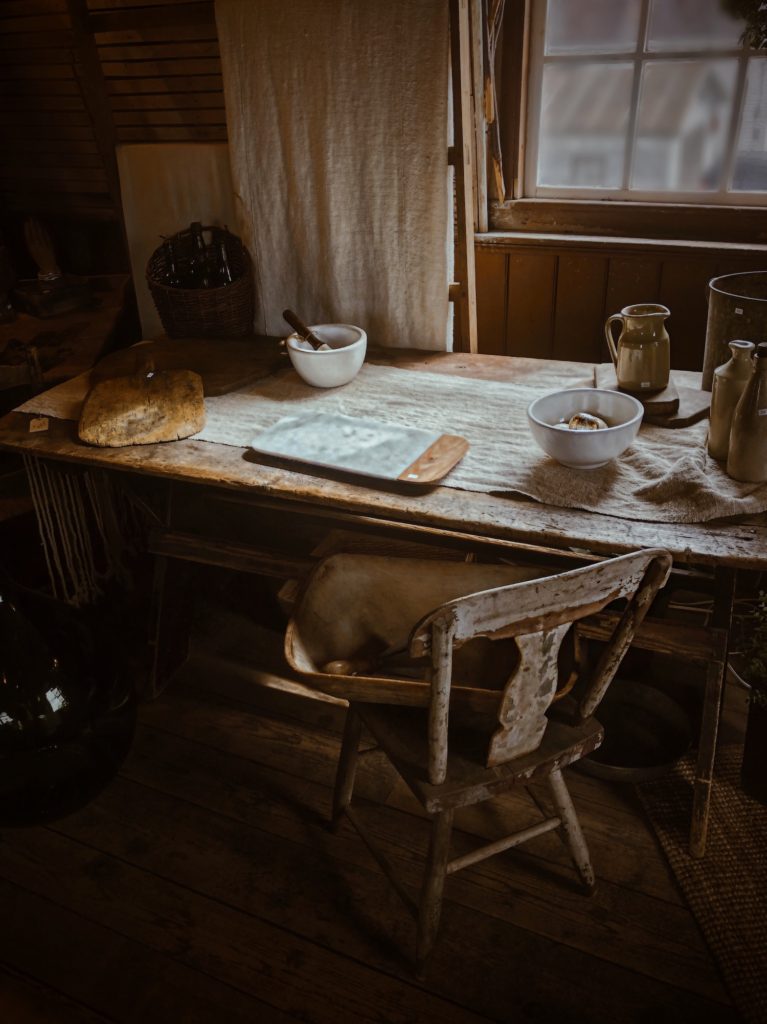
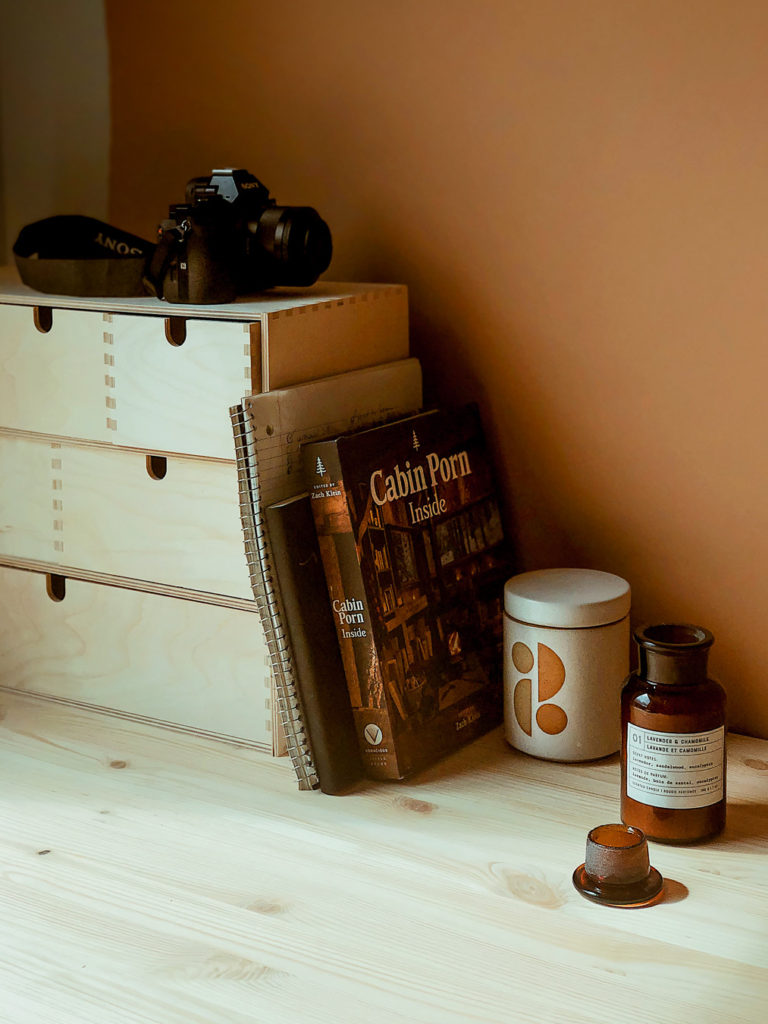
I personally like to style photos to create a story or mood. Like you could walk right into them and sit down or pick something up. 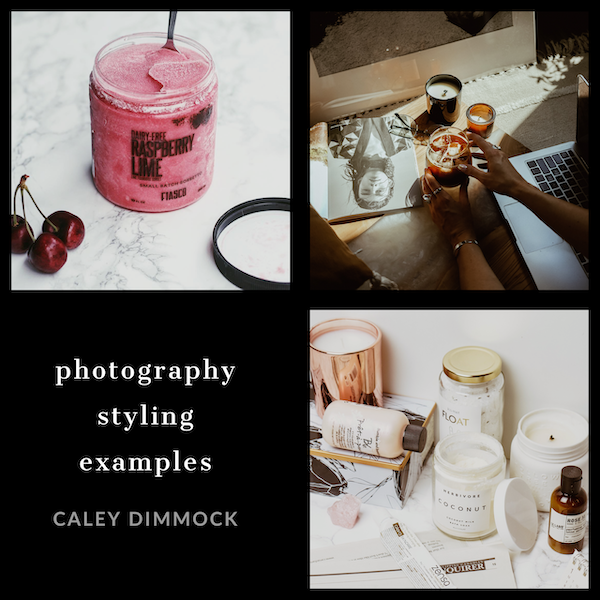
– Consider the colours, shapes, sizes, and textures of all items and/or subjects in your frame.
For example, if styling a photo of food, consider adding in some dishes and utensils, some of the ingredients, a wooden cutting board, perhaps a napkin or tablecloth, and maybe even someone’s hand if you’re feeling adventurous.
– Ensure to pay attention to the background to ensure there are no distracting objects or colours (such as a bright orange pylon, or a bright red fire extinguisher).
– Style your items in varying heights and layers. Don’t be afraid to stack items on top of each other.
4) Focus and Expose
These are two different things, but I’m throwing them as one step since you can do them both back-to-back.
On iPhone, tap your screen overtop of the item or person you want the shot to be focused on to ensure it’s in focus.
Next, adjust your exposure. Mobile phones do a pretty good job of this, but you’ll want to make sure that your highlights/white parts of your image aren’t overexposed. When part of an image is overexposed, we can’t get that part back via editing. However, when part of a photo is underexposed, we can brighten it and reveal the detail in previously darkened part.
On iPhone, after you tap on the part of your image you want to be in focus, you can then slide your finger up and down on your screen to adjust the exposure.
5) Keep your phone as still as can be
When you go to take the photo, make sure you keep your hand steady. If your phone moves even a little bit when you take your photo, it can result in the photo not being as clear and crisp as it could’ve been.
To keep your phone still, hold it with both hands, using the hand that’s not taking the photo to stabilize it.
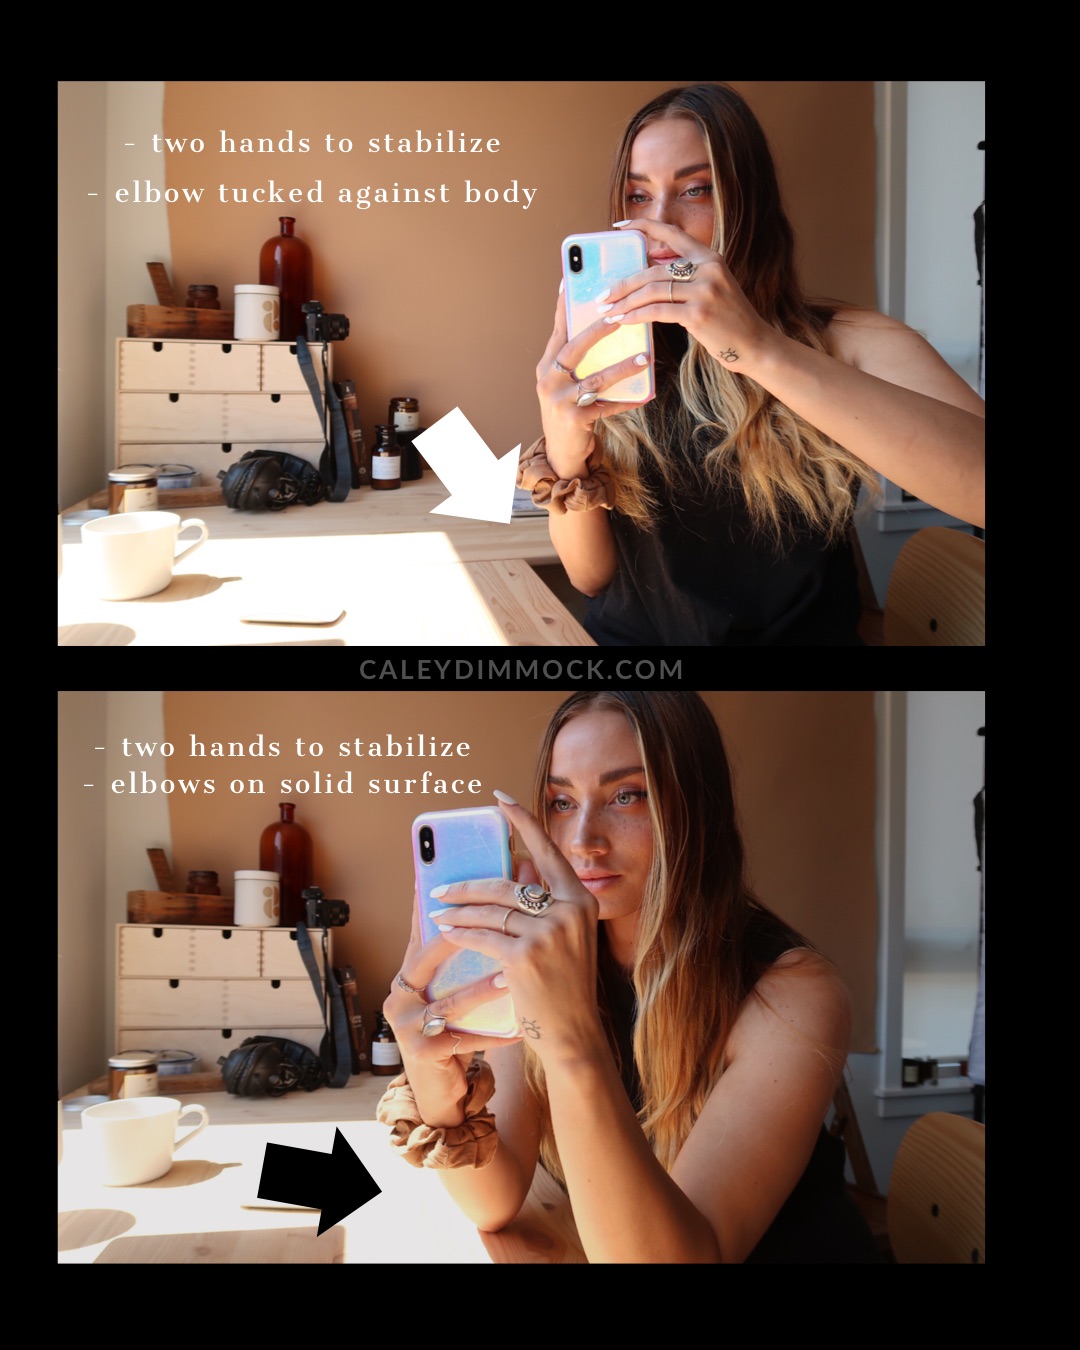
I then recommend also tucking in the elbow of the side you’re using to take the photo so it and your upper arm are against your body, creating further stabilization.
If you have access to a table or desk or other surface, another helpful method to stabilize your phone is to place your elbow on the surface so your arm is supported by something other than your body.
6) Don’t zoom. Just don’t.
Crop instead.
The moment you zoom, the moment you lose a ton of image quality in your picture. Instead of zooming in, either get closure to the subject, or crop your photo in editing afterwards.
7) Keep things (horizons, posts, etc.) straight
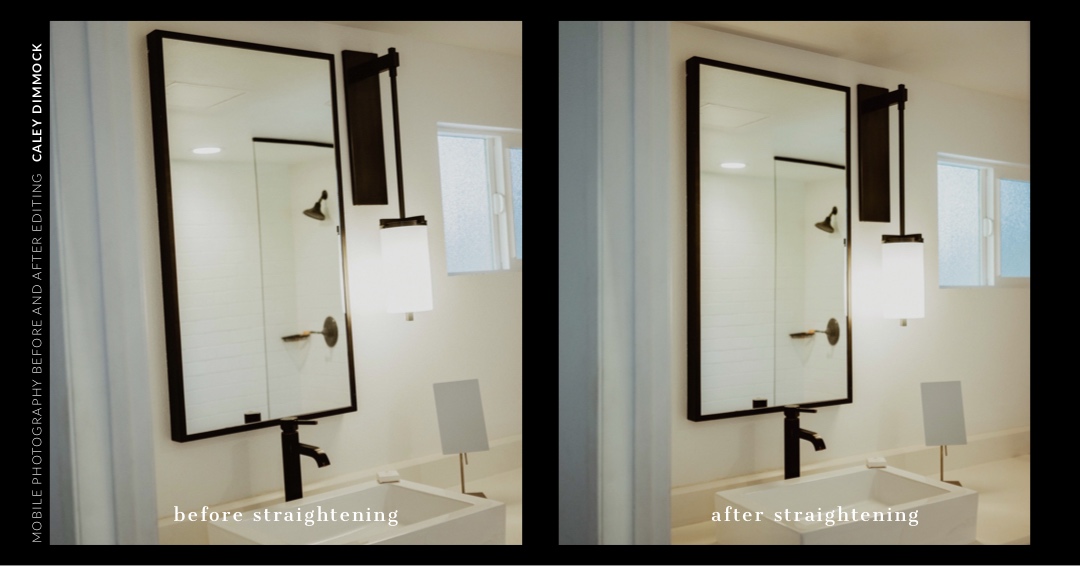
If something is perfectly straight or level in real life, keep it that way in your photos. It may not always be obvious to the person viewing the photo, but sometimes when an image looks a little “off”, it can be because something we know to be level in real life is slightly crooked in the photo.
Level out that horizon.
Make sure the edge of that mirror is straight.
Position the corner of that room so it’s perfectly vertical.
8) Edit. Edit. Edit.
Editing really does make all the difference.
We can adjust lighting, sharpen, change colours and tone, and so much more. We can even adjust even just one part of an image if we want to.
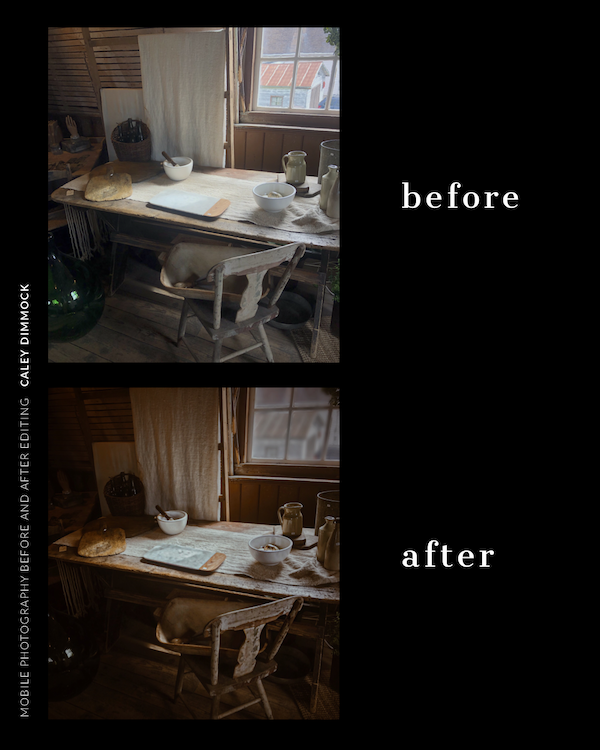
Here is an example of the before and after of one of my photos that I posted at the beginning of this article:
There are a few main apps I like to use for my mobile phone photos and here they are:
VSCO
I typically use VSCO to apply filters (my personal fav is the A4 filter and it has been for YEARS), and make overall adjustments to exposure, tone, clarity, and saturation. The premium/paid version of VSCO also has an HSL section, which stands for hue, saturation, luminance. This is where you can edit the characteristics of an individual colour.
Want to edit the grass in your photo so it’s not so distracting? Dope, you can do that by decreasing the saturation of the greens. Is someone’s face looking super red? Simply adjust the hue of the reds to make it more orange. Easy peasy.
Snapseed
I really like Snapseed for making adjustments to just parts of images. The “Selective” and “Brush” tools are perfect for this.
Snapseed also has a really neat “Portrait” tool which makes changes to eye clarity, face exposure, and vignetting, which can make people really stand out in the photo.
And the last feature I like, although kind of strange, is the “Head Pose” tool. Which is exactly what it sounds like. If a person is in your photo, you can use this tool to adjust the pose of their face. Again, yes, it’s odd. But I’ve used it a couple of times here and there and it can really help.
Facetune
While Facetune has become infamous for people using it to adjust their body proportions before posting their pics to Instagram, I do like it for its blur feature and I use it quite a bit for this.
One of the big differences between mobile phone cameras and DSLR or mirrorless cameras, is that getting a nice blurry depth-of-field effect can be difficult. Even when using “portrait mode” on your phone, it’s not always accurate, and one part of an object can be in focus while part of the same object might be completely blurry because your phone is guessing where the edge of said object is.
And so I often just blur backgrounds manually after the fact with the help of apps.
TouchRetouch
When this app first came out it blew my freaking mind. I couldn’t get over how accurately it could remove objects from photos. It’s a pretty great alternative to having to use Photoshop for relatively straight-forward jobs. That being said, I was one time actually able to remove my glasses completely from a photo of myself, fairly well. So its capabilities are fascinating. It’s a paid app, but the last time I checked it was about $4… a steal for what it does in my honest opinion.
Adobe Lightroom
And while I personally only tend to use Adobe Lightroom on my desktop, I do also recommend the Adobe Lightroom mobile app. It’s free to use and you can also create your own presets to create a consistent look and feel to your images. You can also purchase presets to take the hard work out of it and edit your photos in a single touch. In fact, I sell some of my best Lightroom Presets, and each download comes with files for both desktop and mobile. Click here to check them out.
I’d love to see what you do with these tips. Tag me (@cjdimmock) in your Instagram captions to show me! And of course, share this article with your audience and anyone else who you think might find it helpful.


+ show Comments
- Hide Comments
add a comment